
When it comes to tiling projects, the success of your installation depends significantly on the quality of the mortar used. For tasks that require a low-profile, highly adhesive solution capable in even wet areas thinset mortar is the go-to choice. In this guide, we’ll delve into the essential steps and tips for mixing the thinset tile mortar to ensure a successful and long-lasting tile installation.
Ingredients:
Before we get started, let’s gather the necessary ingredients for mixing the thinnest tile mortar:
- Safety: Wear a dust mask and eye protection. I usually keep a shop vac running next to the bucket to keep the dust down or mix outside.
Thinset Mortar: Choose a high-quality thin-set mortar suitable for your specific tile and substrate. Read the manufacturer’s guidelines to ensure compatibility with your project.
Water: Clean, potable water is crucial for achieving the right consistency. Use the amount specified by the thin-set mortar manufacturer.
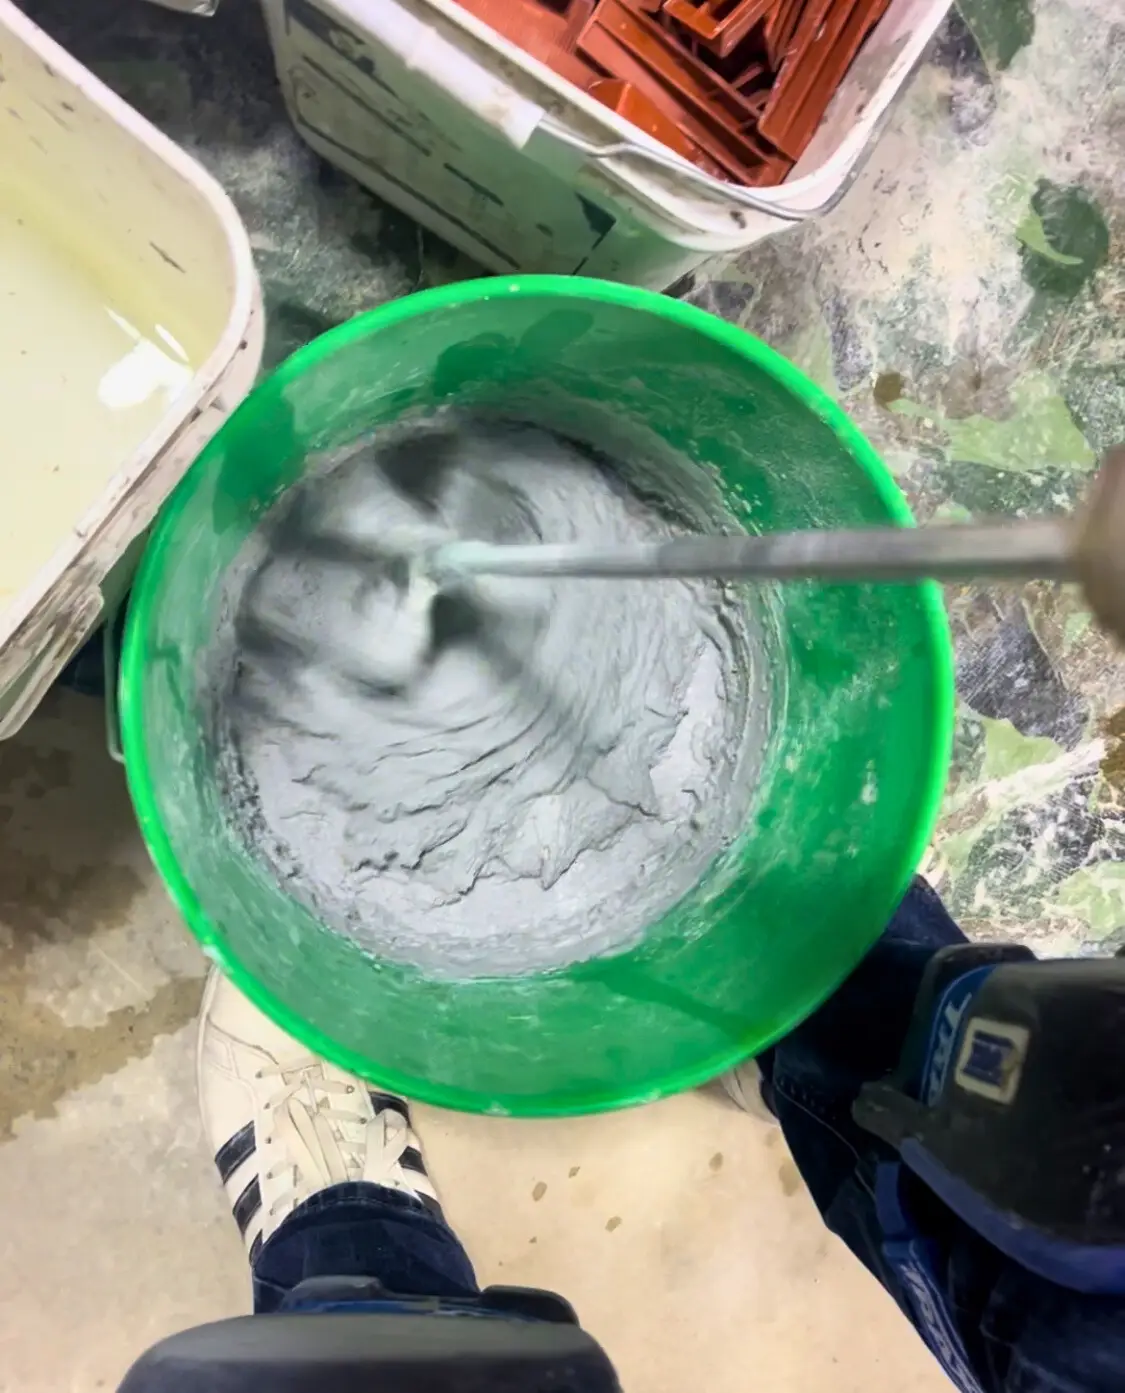
Large Bucket, Electric Drill, & Mixing Paddle: A clean, large bucket and mixing paddle attachment for a power drill will help you achieve a consistent and lump-free mortar mix. Tip: Menards buckets are great.
Measuring Tools: Use measuring cups or a scale to ensure precise measurements, following the thinset mortar manufacturer’s recommendations.
Mixing Steps:
Now, let’s go through the step-by-step process of mixing the thinnest tile mortar:
Read the Instructions: Carefully read and follow the instructions provided by the thin-set mortar manufacturer. Pay attention to the recommended water-to-mortar ratio, mixing time, and any specific guidelines.
Measure Water: Accurately measure the required amount of water using a measuring cup or scale. Pour the water into the mixing bucket.
Add Thin-Set Mortar: Gradually add the thin-set mortar to the water while stirring continuously. Use the mixing paddle or drill attachment to ensure even distribution.
Mix Thoroughly: Mix the mortar thoroughly to achieve a smooth, lump-free consistency. Pay attention to the edges and bottom of the bucket to eliminate any dry pockets.
Check Consistency: The mortar should have a creamy consistency that holds its shape without being too thick or too runny. If needed, adjust the water or mortar to achieve the desired texture.
At this point Some Thinset will require what is called Slake time. Typically lasting between 5 to 10 minutes, this involves allowing the Thinset to rest before giving it a Final Mix. This will make the thin-set last longer before setting up.
Tips for Success:
Follow Manufacturer Guidelines: Always adhere to the specific recommendations provided by the thin-set mortar manufacturer. This ensures optimal performance and longevity.
Use the Right Tools: Investing in quality mixing tools, such as a mixing paddle or a power drill attachment, can make the process more efficient and yield better results.
Work in Small Batches: Mixing smaller batches can help you maintain better control over the consistency of the mortar, especially in time-sensitive projects.
Prevent Overmixing: Avoid overmixing the mortar, as this can lead to air entrapment and weaken the adhesive properties.
Conclusion:
Mixing the thinnest tile mortar is a crucial step in ensuring a successful tile installation. By following these steps and tips, you’ll be well-equipped to achieve a consistent, high-quality mortar mix that will provide a reliable foundation for your tiling project. Always refer to the manufacturer’s guidelines and take your time to ensure a job well done.